10-Minute Tiramisu Balls Recipe
Introduction
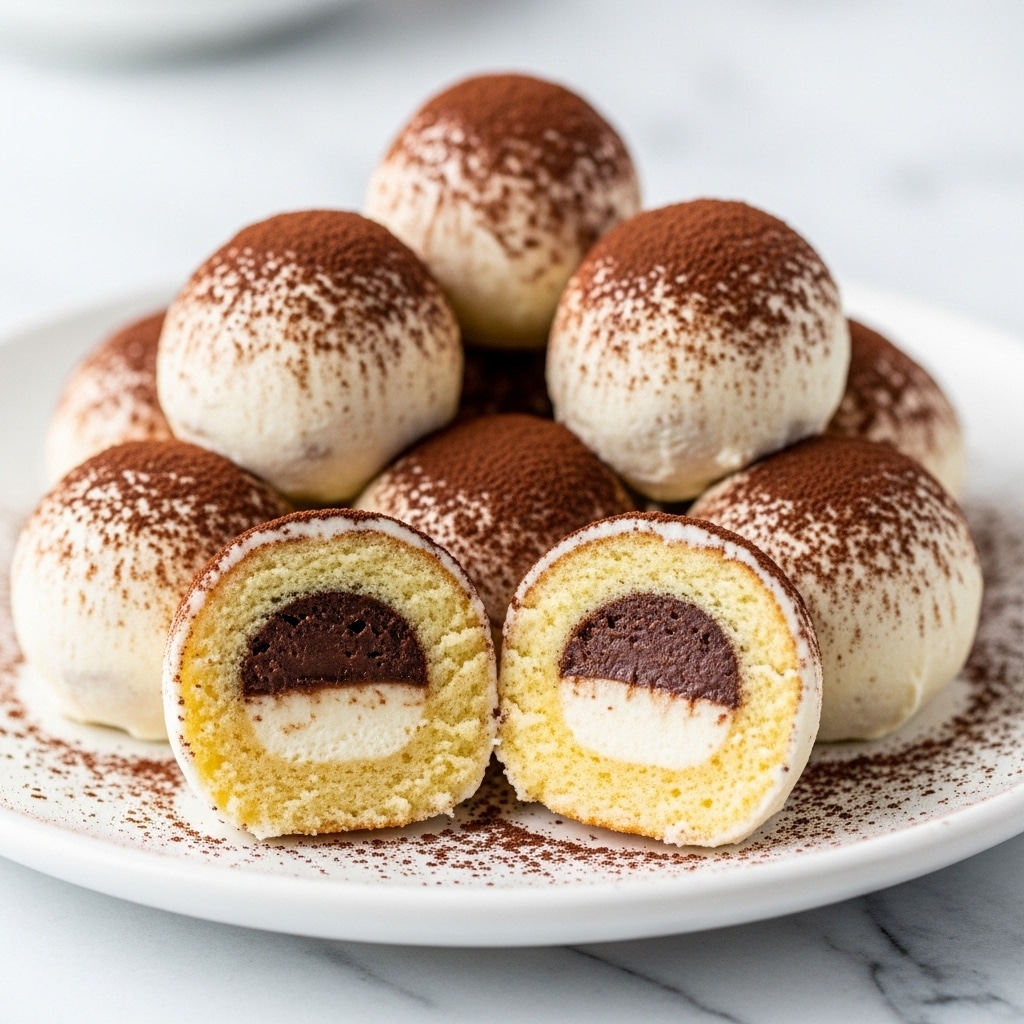
These 10 Minute Tiramisu Balls offer a quick and delightful twist on the classic Italian dessert. With no baking required, they combine creamy mascarpone, coffee-soaked ladyfingers, and a dusting of cocoa for a delicious bite-sized treat. Perfect for last-minute gatherings or a simple indulgence at home.
Ingredients
- 200g ladyfingers (savoiardi)
- ½ cup brewed espresso, cooled
- 250g mascarpone cheese
- ½ cup powdered sugar
- 1 tablespoon cocoa powder
- 1 tablespoon coffee liqueur (optional)
- 1 teaspoon vanilla extract
- Pinch of salt
- Additional cocoa powder for dusting
Instructions
- Step 1: Crush the ladyfingers in a food processor until they form fine crumbs.
- Step 2: In a large bowl, mix the mascarpone cheese, powdered sugar, vanilla extract, and a pinch of salt until smooth.
- Step 3: Stir the cooled espresso and coffee liqueur (if using) into the mascarpone mixture until fully combined.
- Step 4: Gradually fold the crushed ladyfinger crumbs into the mascarpone mixture, mixing well to incorporate.
- Step 5: Scoop small portions of the mixture and roll them into walnut-sized balls with your hands.
- Step 6: Place the balls on a lined tray, dust them generously with cocoa powder, and chill in the refrigerator for at least 30 minutes to set. Serve immediately if you prefer a softer texture.
Tips & Variations
- For a boozy version, increase the coffee liqueur slightly or substitute it with a splash of dark rum or brandy.
- Try rolling the balls in finely chopped nuts or chocolate shavings instead of cocoa powder for extra texture.
- If you don’t have a food processor, crush the ladyfingers in a sealed plastic bag using a rolling pin.
Storage
Store the tiramisu balls in an airtight container in the refrigerator for up to 3 days. When ready to serve, let them sit at room temperature for 5–10 minutes for a softer texture. These are not suitable for freezing as the texture may change.
How to Serve

Serve this delicious recipe with your favorite sides.
FAQs
Can I make these tiramisu balls ahead of time?
Yes, you can prepare and chill them up to 3 days in advance, making them perfect for gatherings or meal prep.
What if I don’t drink alcohol or don’t have coffee liqueur?
You can omit the coffee liqueur altogether and still enjoy the rich flavor from the espresso and mascarpone mixture.
Print10-Minute Tiramisu Balls Recipe

Delightful and easy-to-make 10 Minute Tiramisu Balls that capture the classic flavors of tiramisu in a convenient bite-sized dessert. This no-bake recipe uses crushed ladyfingers, mascarpone cheese, espresso, and cocoa powder to create a rich, creamy treat perfect for last-minute celebrations or everyday indulgence.
- Prep Time: 10 minutes
- Cook Time: 0 minutes
- Total Time: 40 minutes
- Yield: About 20 tiramisu balls 1x
- Category: Dessert
- Method: No-Cook
- Cuisine: Italian
Ingredients
Base
- 200g ladyfingers (savoiardi)
- ½ cup brewed espresso, cooled
Mascarpone Mixture
- 250g mascarpone cheese
- ½ cup powdered sugar
- 1 teaspoon vanilla extract
- Pinch of salt
- 1 tablespoon coffee liqueur (optional)
For Dusting
- 1 tablespoon cocoa powder
- Additional cocoa powder for dusting
Instructions
- Prepare the Ladyfingers: Crush the ladyfingers in a food processor until they form fine crumbs, which will serve as the base texture for the tiramisu balls.
- Mix the Mascarpone: In a large mixing bowl, combine the mascarpone cheese, powdered sugar, vanilla extract, and pinch of salt. Mix thoroughly until the mixture is smooth and creamy.
- Add Espresso and Liqueur: Stir the cooled espresso and optional coffee liqueur into the mascarpone mixture, blending well to infuse the coffee flavor evenly.
- Combine with Ladyfinger Crumbs: Gradually fold the crushed ladyfingers into the mascarpone mixture, ensuring the crumbs are fully incorporated to create a consistent mixture suitable for shaping.
- Form the Balls: Using your hands, take small portions of the mixture and roll into walnut-sized balls, evenly shaping each for uniformity.
- Dust and Chill: Place the tiramisu balls on a lined tray, dust them generously with cocoa powder, then refrigerate for at least 30 minutes to allow them to set, or serve immediately for a softer texture.
Notes
- For an extra coffee kick, soak the ladyfingers briefly in espresso before crushing, but be careful not to over-soak to avoid sogginess.
- Coffee liqueur is optional and can be omitted for a non-alcoholic version.
- These tiramisu balls can be stored covered in the refrigerator for up to 3 days.
- Dust with cocoa powder just before serving to maintain a fresh, rich appearance.
- To make it vegan, substitute mascarpone with a vegan cream cheese alternative and ensure ladyfingers are vegan-friendly.
Keywords: tiramisu balls, no-bake dessert, Italian dessert, mascarpone recipe, quick tiramisu, espresso dessert, coffee flavored sweets