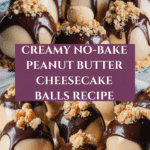
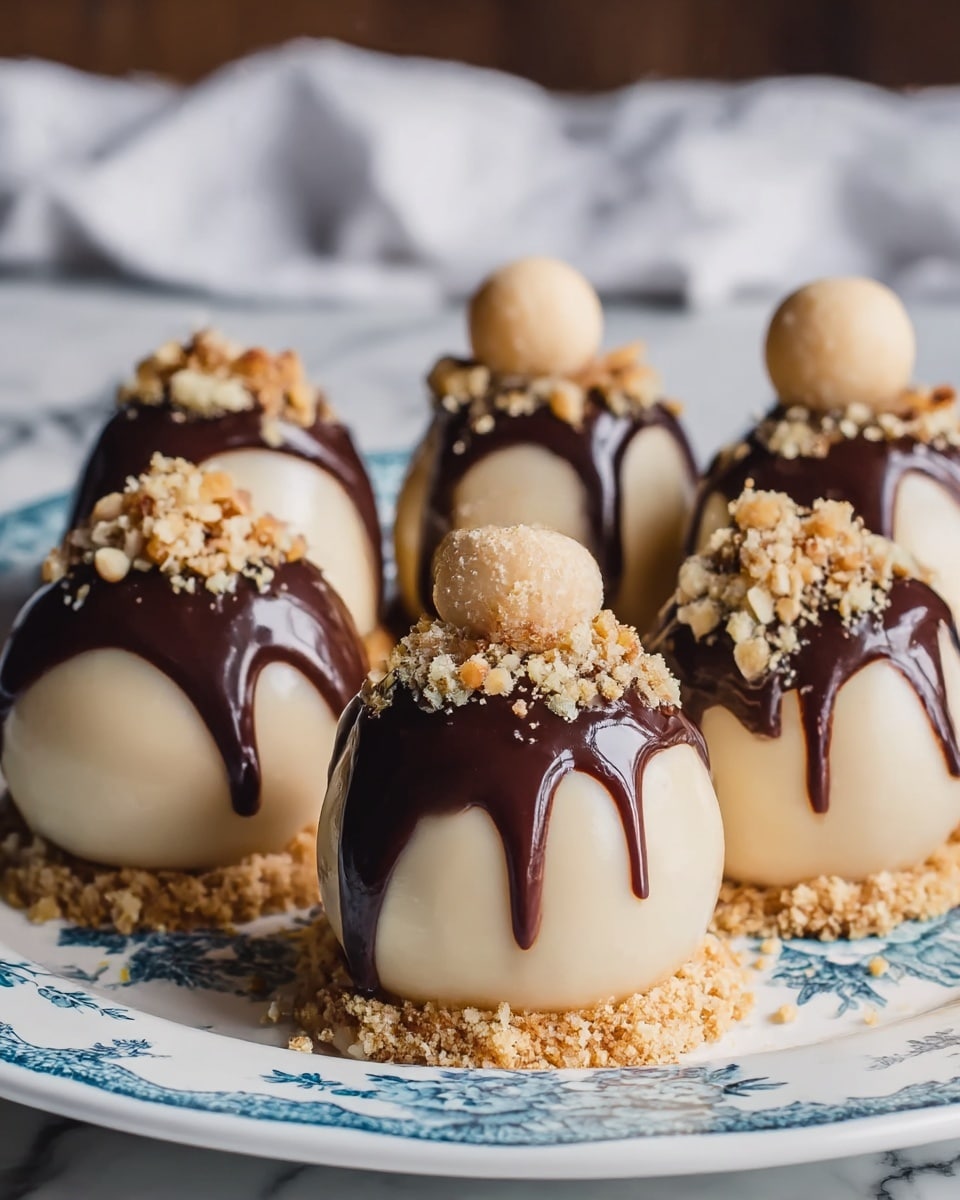
No-Bake Peanut Butter Cheesecake Balls Recipe
Introduction
No-bake peanut butter cheesecake balls are a deliciously creamy and sweet treat that come together quickly without any oven time. These bite-sized delights balance the richness of cream cheese and peanut butter with a variety of coatings for a fun twist. Perfect for parties or a simple indulgence, they’re sure to satisfy your sweet tooth.
Ingredients
- 8 oz cream cheese, softened to silky perfection (substitute: vegan cream cheese for dairy-free option)
- ½ cup creamy peanut butter, room temperature (natural or conventional both work beautifully)
- ¼ cup powdered sugar, sifted for ultimate smoothness
- 1 teaspoon pure vanilla extract
- 2 tablespoons honey or maple syrup
- Pinch of sea salt
- 1 cup finely chopped peanuts, lightly toasted (substitute: crushed graham crackers or coconut flakes)
- ½ cup mini chocolate chips
- 2 tablespoons cocoa powder
- ¼ cup shredded coconut, toasted golden
- Optional flavor enhancers: 1 tablespoon cream cheese, ½ teaspoon cinnamon, 1 tablespoon mini marshmallows
Instructions
- Step 1: In a large bowl, combine the softened cream cheese and peanut butter until smooth and creamy using a hand mixer or sturdy spoon.
- Step 2: Add powdered sugar, vanilla extract, honey or maple syrup, and a pinch of sea salt. Mix thoroughly until the mixture is well blended and smooth. Optional enhancers like cinnamon or extra cream cheese can be added here.
- Step 3: Chill the mixture in the refrigerator for about 30 minutes to firm up slightly, making it easier to shape.
- Step 4: Using a small cookie scoop or spoon, form the cheesecake mixture into bite-sized balls and place them on a parchment-lined tray.
- Step 5: Roll the balls in your choice of coatings: toasted peanuts, mini chocolate chips, cocoa powder, or toasted coconut. For best results, press the coatings gently to help them stick.
- Step 6: Refrigerate the coated balls for at least 1 hour before serving to allow them to set fully.
Tips & Variations
- For a dairy-free version, substitute vegan cream cheese and use maple syrup instead of honey.
- Chill the peanut butter and cream cheese before mixing to help achieve the perfect texture.
- Try adding a pinch of cinnamon or mini marshmallows for added flavor and texture.
- Use crushed graham crackers or coconut flakes as alternative coatings to customize the flavor.
Storage
Store the cheesecake balls in an airtight container in the refrigerator for up to 5 days. For longer storage, freeze them on a tray, then transfer to a freezer-safe container for up to 2 months. Thaw in the refrigerator before serving. They can be enjoyed cold or at room temperature.
How to Serve
Serve this delicious recipe with your favorite sides.
FAQs
Can I make these peanut butter cheesecake balls ahead of time?
Yes, they keep well in the refrigerator for up to 5 days and can be frozen for longer storage. Just make sure to thaw them in the fridge before serving.
Can I use crunchy peanut butter instead of creamy?
Yes, but keep in mind that crunchy peanut butter will add texture to the mixture, which may affect the smoothness of the balls. Both types work well depending on your preference.
PrintNo-Bake Peanut Butter Cheesecake Balls Recipe
These No-Bake Peanut Butter Cheesecake Balls are creamy, rich, and bursting with peanut butter flavor, perfectly balanced with a smooth cheesecake base. Coated with your choice of chopped peanuts, mini chocolate chips, cocoa powder, or toasted coconut, these bite-sized treats are simple to make and require no oven time, making them a delightful dessert or snack option for any occasion.
- Prep Time: 15 minutes
- Cook Time: 0 minutes
- Total Time: 1 hour 45 minutes
- Yield: 24 cheesecake balls 1x
- Category: Dessert
- Method: No-Cook
- Cuisine: American
- Diet: Vegetarian
Ingredients
For the Cheesecake Base:
- 8 oz cream cheese, softened to silky perfection (substitute: vegan cream cheese for dairy-free option)
- ½ cup creamy peanut butter, room temperature (natural or conventional both work beautifully)
- ¼ cup powdered sugar, sifted for ultimate smoothness
- 1 teaspoon pure vanilla extract for aromatic depth
- 2 tablespoons honey or maple syrup for natural sweetness enhancement
- Pinch of sea salt to amplify the peanut butter flavor
For the Coating Options:
- 1 cup finely chopped peanuts, lightly toasted (substitute: crushed graham crackers or coconut flakes)
- ½ cup mini chocolate chips for delightful texture contrast
- 2 tablespoons cocoa powder for a rich, chocolatey finish
- ¼ cup shredded coconut, toasted golden for tropical flair
Optional Flavor Enhancers:
- 1 tablespoon cream cheese for extra richness
- ½ teaspoon cinnamon for warm spice notes
- 1 tablespoon mini marshmallows for playful texture
Instructions
- Prepare the Cheesecake Base: In a mixing bowl, combine the softened cream cheese, peanut butter, powdered sugar, vanilla extract, honey or maple syrup, and a pinch of sea salt. Beat until the mixture is creamy and smooth, ensuring all ingredients are well incorporated for perfect texture.
- Chill the Mixture: Cover the bowl with plastic wrap and refrigerate for about 30 minutes to firm up the mixture, making it easier to shape into balls.
- Shape the Cheesecake Balls: Using a small cookie scoop or spoon, portion out the chilled mixture and roll it between your palms to form smooth, even-sized balls.
- Prepare the Coatings: Spread chopped peanuts, mini chocolate chips, cocoa powder, and toasted shredded coconut into separate shallow bowls or plates for dipping the balls.
- Coat the Balls: Roll each cheesecake ball in your preferred coating until fully covered, gently pressing the coating onto the surface to ensure it adheres well.
- Optionally Enhance Flavors: If desired, mix in optional ingredients like extra cream cheese, cinnamon, or mini marshmallows into the batter before chilling for added texture and flavor complexity.
- Final Chill: Place the coated cheesecake balls on a parchment-lined tray and refrigerate for at least 1 hour to set completely before serving.
- Serve and Enjoy: Serve chilled as delightful bite-sized desserts that are perfect for parties, snacks, or a sweet treat anytime.
Notes
- Ensure the cream cheese and peanut butter are softened and at room temperature for the smoothest mixture.
- Chilling times can be adjusted slightly depending on room temperature but don’t skip chilling to achieve the right texture.
- Mix and match coatings for variety and personalized flavor combinations.
- Store leftovers in an airtight container in the refrigerator for up to 5 days.
- For a dairy-free version, substitute cream cheese with vegan alternatives and use maple syrup instead of honey.
Keywords: no-bake peanut butter cheesecake balls, peanut butter dessert, no-bake cheesecake bites, easy no-bake desserts, peanut butter treats, bite-sized cheesecake, creamy cheesecake balls