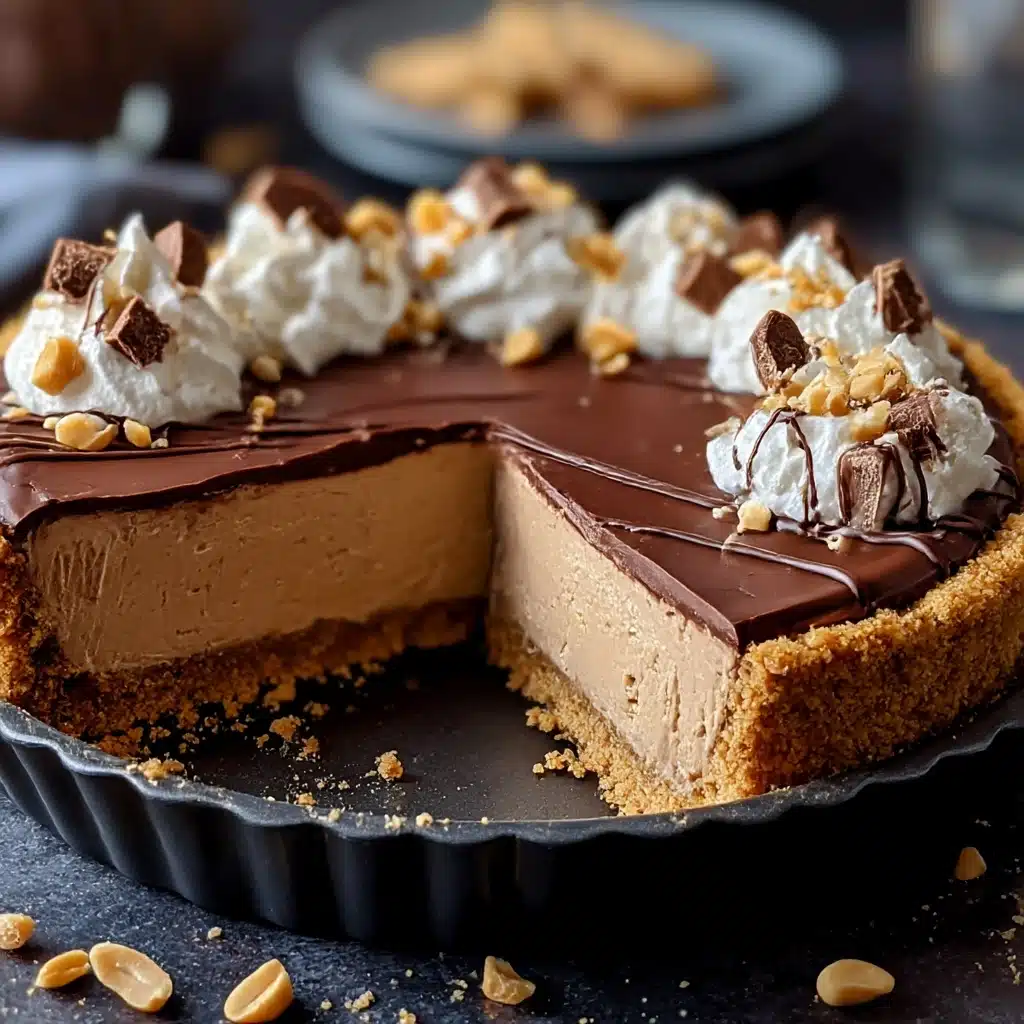
Irresistible No-Bake Cream Cheese Peanut Butter Pie Recipe
If you’re craving the perfect combination of creamy, rich, and delightfully nutty flavors, then look no further than this Irresistible No-Bake Cream Cheese Peanut Butter Pie Recipe. It’s a heavenly dessert that comes together quickly without needing an oven, making it ideal for any occasion. The smooth cream cheese blends effortlessly with velvety peanut butter, all nestled on a buttery graham cracker crust and topped with a luscious chocolate whipped cream layer. This pie isn’t just a treat—it’s a showstopper that everyone will rave about with each delightful bite!

Ingredients You’ll Need
Gathering just a handful of simple, quality ingredients is the secret to this pie’s magic. Each item plays its part, creating a balance of textures and flavors that’s totally irresistible and keeps you coming back for more.
- 1 ½ cups graham cracker crumbs: Provides the perfect crunchy, sweet base for the pie crust.
- ½ cup unsalted butter, melted: Binds the crust together and adds a rich, buttery flavor.
- 8 oz cream cheese, softened: Brings a smooth, tangy creaminess essential for the filling’s luscious texture.
- 1 cup creamy peanut butter: Adds that classic nutty depth and mouthwatering richness.
- 1 cup confectioners’ sugar: Sweetens the filling gently while ensuring a silky finish.
- 1 cup heavy whipping cream: Whipped into fluffy peaks to create a light, airy topping.
- 3 tbsp cocoa powder: Infuses the whipped cream with a rich chocolate flavor and a beautiful contrast to the peanut butter.
How to Make Irresistible No-Bake Cream Cheese Peanut Butter Pie Recipe
Step 1: Prepare the crust
Start by combining the graham cracker crumbs with the melted butter in a medium bowl. Mix well until every crumb is coated and then firmly press this mixture into your pie dish, creating a solid and even layer. This crust forms the delicious foundation of your pie, providing a slight crunch that perfectly complements the creamy filling.
Step 2: Make the filling
Next, whip the softened cream cheese until it becomes velvety smooth using a hand mixer or a sturdy whisk. Slowly add the creamy peanut butter and confectioners’ sugar, mixing until everything is seamlessly combined. The result is a thick, creamy filling that’s rich yet perfectly balanced in sweetness and peanut flavor.
Step 3: Assemble the pie
Spread the peanut butter cream cheese filling evenly over the prepared crust. Smooth out the surface with a spatula to ensure each bite has a consistent, luxurious texture. This layer is where all the velvety goodness comes alive, so take your time making it even and inviting.
Step 4: Whip up chocolate cream
Place your heavy whipping cream in a chilled bowl and beat it until soft peaks form. Then gradually sift in the cocoa powder and continue beating until stiff peaks appear. This chocolate whipped cream topping adds a fluffy, decadent finish with a hint of bittersweet flavor that beautifully balances the sweet filling beneath.
Step 5: Top your pie and chill
Generously spread or pipe the chocolate whipped cream over the peanut butter filling, making the pie look as gorgeous as it tastes. Refrigerate the whole pie for at least four hours or overnight to let all the flavors set and meld together. The chilling step is crucial for achieving that perfect sliceable texture everyone loves.
How to Serve Irresistible No-Bake Cream Cheese Peanut Butter Pie Recipe
Garnishes
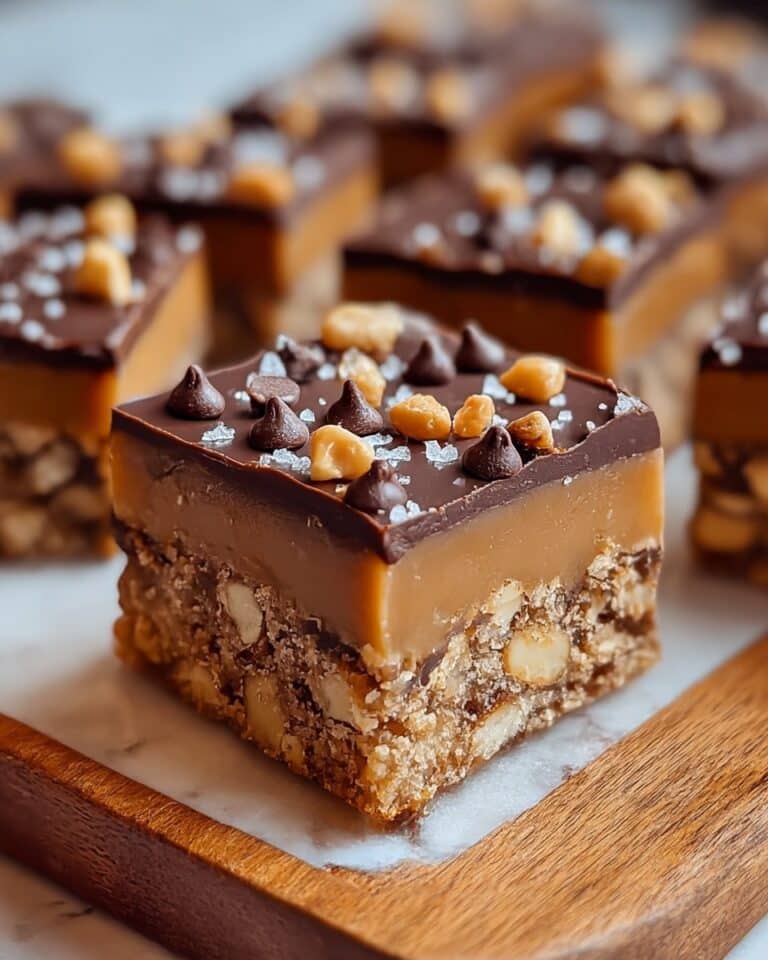
To elevate this pie’s presentation and flavor, consider sprinkling crushed peanuts or mini chocolate chips on top. A drizzle of melted chocolate or a few dollops of extra peanut butter on the side can provide an eye-catching finish. These simple touches add texture and visual interest, turning a great pie into a stunning centerpiece.
Side Dishes
This pie pairs wonderfully with fresh berries or a fresh fruit salad to complement the richness with bright, natural sweetness. A light scoop of vanilla ice cream also works beautifully, enhancing every bite with creamy coolness and extra indulgence. These sides create a well-rounded dessert experience.
Creative Ways to Present
For a party, consider serving the pie in individual mini crusts or mason jars for adorable personal portions. Layering it with crushed cookies and whipped cream in parfait glasses is another fun twist that amps up the visual appeal while maintaining that incredible flavor. This recipe is versatile and looks fantastic whether on a casual table or a fancy dessert spread.
Make Ahead and Storage
Storing Leftovers
Keep leftover pie tightly covered with plastic wrap or in an airtight container in the refrigerator. This will maintain the freshness and prevent the pie from absorbing any fridge odors. Enjoy your leftovers within 3 to 4 days for the best flavor and texture.
Freezing
This pie freezes beautifully. Wrap it securely in plastic wrap and then aluminum foil before placing it in the freezer. When you’re ready to indulge again, let the pie thaw overnight in the fridge. While the texture may be a touch creamier once frozen and thawed, it’s still truly delicious.
Reheating
Since this is a chilled, no-bake dessert, reheating isn’t necessary or recommended. It’s best enjoyed cold to savor that smooth creaminess and fluffy topping at their peak. Simply slice and serve straight from the fridge for maximum delight.
FAQs
Can I use crunchy peanut butter instead of creamy?
Absolutely! Using crunchy peanut butter will add a delightful texture to the filling, giving you extra nutty bites throughout the pie. Just be sure to blend it well into the cream cheese for an even consistency.
Is it possible to make this pie gluten-free?
Yes, you can swap out the graham cracker crumbs for gluten-free graham crackers or even crushed nuts like almonds or pecans. The crust will still hold together nicely and taste amazing.
Can I substitute the cream cheese with something else?
Cream cheese is key for that signature tangy richness, but you could try mascarpone or ricotta cheese for a slightly different flavor and texture. Just keep in mind the pie’s creaminess will vary a bit.
How long does the pie need to chill before serving?
It’s best to chill the pie for at least four hours to allow it to fully set and develop those incredible flavors. Overnight chilling is even better if you can plan ahead.
Can I make this pie ahead for a party?
Definitely! This Irresistible No-Bake Cream Cheese Peanut Butter Pie Recipe is perfect for making a day or two in advance. It stores beautifully in the fridge and often tastes even better after the flavors meld overnight.
Final Thoughts
I can’t recommend this Irresistible No-Bake Cream Cheese Peanut Butter Pie Recipe enough if you want a dessert that’s quick to make but endlessly delicious. It’s creamy, dreamy, and filled with that perfect peanut butter charm that satisfies any sweet craving. Go ahead and try it—you’ll surely be making it again and again, much like I do!
PrintIrresistible No-Bake Cream Cheese Peanut Butter Pie Recipe
This Irresistible No-Bake Cream Cheese Peanut Butter Pie combines a crunchy graham cracker crust with a rich, creamy peanut butter and cream cheese filling, topped with light and fluffy chocolate whipped cream. Perfect for a quick yet indulgent dessert without turning on the oven.
- Prep Time: 15 minutes
- Cook Time: 0 minutes
- Total Time: 4 hours 15 minutes (including chilling time)
- Yield: 8 servings 1x
- Category: Dessert
- Method: No-Bake
- Cuisine: American
- Diet: Vegetarian
Ingredients
Crust
- 1 ½ cups graham cracker crumbs
- ½ cup unsalted butter, melted
Filling
- 8 oz cream cheese, softened
- 1 cup creamy peanut butter
- 1 cup confectioners’ sugar
Topping
- 1 cup heavy whipping cream
- 3 tbsp cocoa powder
Instructions
- Prepare the crust: In a medium bowl, combine the graham cracker crumbs and melted butter until the mixture is evenly moistened. Press this mixture firmly into the bottom and slightly up the sides of a pie dish to form an even crust layer. Chill for 10 minutes if desired to set.
- Make the filling: Using a mixer, blend softened cream cheese until smooth and creamy. Gradually add the creamy peanut butter and confectioners’ sugar, mixing until the filling is fully combined and smooth with no lumps.
- Assemble the pie: Spread the peanut butter cream cheese mixture evenly over the prepared graham cracker crust, smoothing the surface with a spatula for an even layer.
- Whip up chocolate cream: In a chilled mixing bowl, beat the heavy whipping cream on medium-high speed until soft peaks form. Gradually add the cocoa powder, then continue whipping until stiff peaks form and the chocolate cream holds firm peaks.
- Top your pie: Spread or pipe the chocolate whipped cream generously over the peanut butter filling, creating an attractive, fluffy layer on top of the pie.
- Chill: Refrigerate the pie for at least four hours or overnight to allow it to fully set and the flavors to meld together before serving.
Notes
- For a crunchy crust, you can toast the graham cracker crumbs lightly before mixing with butter.
- Use natural peanut butter for a less sweet but more nutty flavor.
- Ensure cream cheese and peanut butter are softened for a smooth filling without lumps.
- Chill the bowl and beaters before whipping cream to help it whip faster and better.
- Store leftovers covered in the refrigerator and consume within 2-3 days for best freshness.
Nutrition
- Serving Size: 1 slice (1/8 of pie)
- Calories: 390
- Sugar: 22g
- Sodium: 220mg
- Fat: 30g
- Saturated Fat: 12g
- Unsaturated Fat: 15g
- Trans Fat: 0g
- Carbohydrates: 22g
- Fiber: 1g
- Protein: 7g
- Cholesterol: 65mg
Keywords: no-bake pie, peanut butter pie, cream cheese dessert, chocolate whipped cream, easy dessert recipe