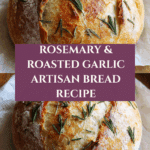
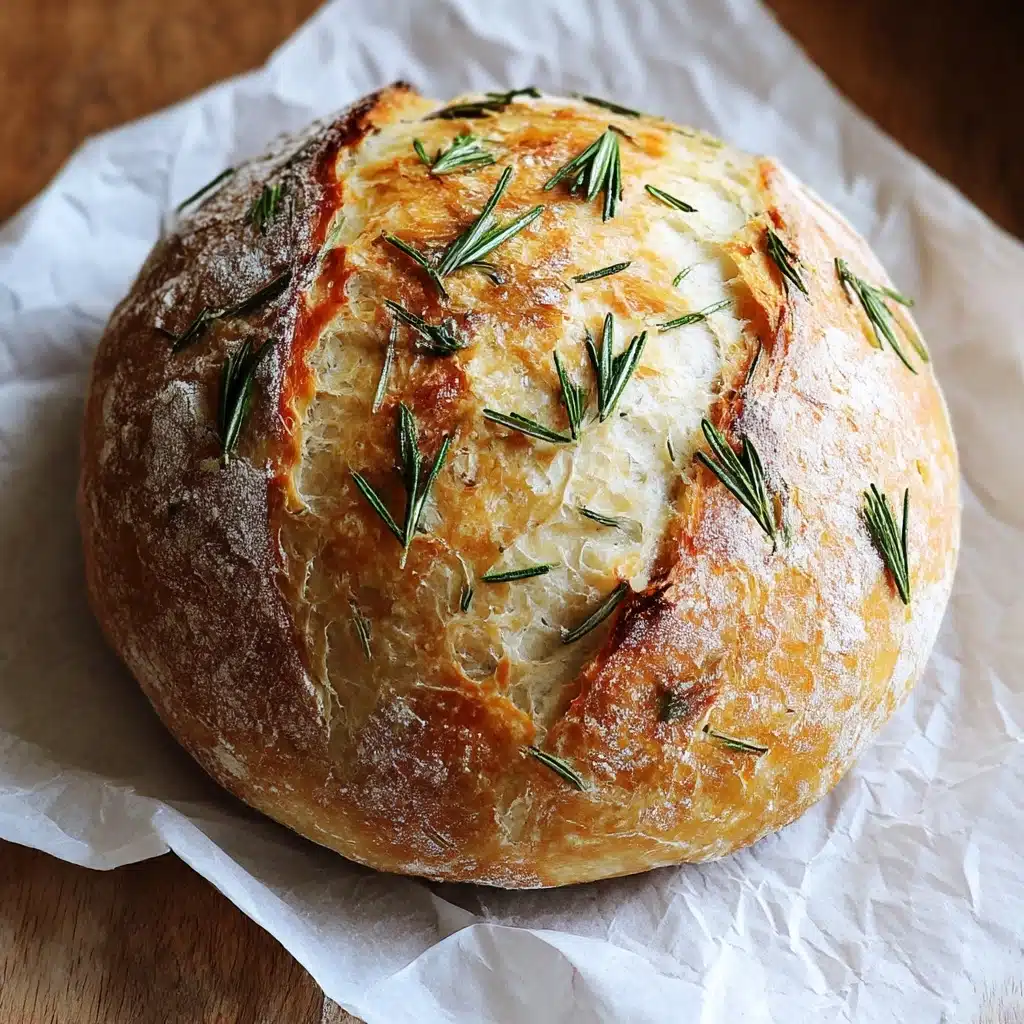
Rosemary & Roasted Garlic Artisan Bread Recipe
If you adore the cozy aromas of fresh herbs blending with the soft, sweet warmth of garlic in your kitchen, you are absolutely going to fall head over heels for this Rosemary & Roasted Garlic Artisan Bread. This bread is a heartfelt combination of fragrant rosemary and perfectly roasted garlic cloves folded into a tender, slightly rustic loaf that boasts a golden crust and an inviting aroma that fills your home. Every bite delivers a wonderful balance of earthy, savory notes with just the right texture, making it perfect for those moments when you crave something homemade that truly comforts and delights.

Ingredients You’ll Need
Gathering simple, fresh ingredients is the key to making this Rosemary & Roasted Garlic Artisan Bread such a standout. Each component enhances the flavor, texture, or aroma in an essential way, creating that artisanal experience right in your kitchen.
- Garlic head: Roasting it softens the cloves and brings out a sweet, mellow flavor that infuses the bread beautifully.
- Extra-virgin olive oil: Adds moisture and richness to the dough while complementing the rosemary and garlic flavors.
- Coarse sea salt and freshly ground black pepper: Seasoning the garlic before roasting intensifies its flavor.
- Water at room temperature: Brings yeast to life gently without shocking the dough.
- Active dry yeast: The magic behind the perfect rise and airy crumb in your artisanal loaf.
- Bread or all-purpose flour: Provides the structure, with a little extra dusting flour to keep things manageable during shaping.
- Dried oregano: Offers a subtle herbal enhancement that complements rosemary perfectly.
- Kosher or fine sea salt: Seasoning the dough for balanced taste throughout.
- Finely chopped rosemary: Fresh rosemary gives the bread that unmistakably vibrant and fragrant kick.
- Extra chopped rosemary for sprinkling: Adds eye-catching appeal and bursts of flavor on the crust.
How to Make Rosemary & Roasted Garlic Artisan Bread
Step 1: Roast the Garlic
Begin by slicing the head of garlic in half horizontally to expose all those lovely cloves. Drizzle with extra-virgin olive oil and sprinkle with coarse sea salt and freshly ground black pepper for that perfect seasoning. Wrap the head tightly in foil, place it on a baking sheet, and roast at 400ºF (204ºC) for about 40 minutes. Once roasted, let it cool, then remove the soft cloves from their skins—these sweet, luscious cloves will be the beating heart of your bread’s flavor.
Step 2: Activate the Yeast
When you’re ready to start the dough, sprinkle the active dry yeast over room-temperature water and allow it to sit for 10 to 15 minutes. This little pause lets the yeast bloom, ensuring a beautiful rise and airy texture. Watching those tiny bubbles form always feels like magic!
Step 3: Prepare the Dry Ingredients
In a large mixing bowl, whisk together the flour, dried oregano, kosher salt, and finely chopped rosemary. These fragrant herbs combined with hearty flour create the foundational flavor and structure of the bread.
Step 4: Mix the Dough
Add the yeast mixture, smashed roasted garlic, and olive oil to the dry ingredients. Use a rubber spatula to fold everything together just until combined. The dough will be sticky and slightly stringy with bits of flour still clinging to the edges of the bowl. This tacky texture is exactly what we want for a perfectly tender artisan crumb!
Step 5: Let the Dough Rise
Cover the bowl and set it somewhere warm for about 8 to 10 hours to allow the dough to double in size. This slow rise encourages deep flavor development and lends that signature airy texture.
Step 6: Shape and Chill the Dough
Once risen, gently transfer the dough onto a floured surface. With floured hands, fold the dough into itself a few times to create a soft, flour-coated ball. Place it seam-side up in a flour-dusted bowl or proofing basket, dust the top with flour, cover, and refrigerate for at least 1 hour—up to 24 or even 48 hours if you prefer. This chilling step enhances the flavor while making it easier to handle before baking.
Step 7: Prepare to Bake
Preheat your oven to 450ºF (232ºC) with a Dutch oven or covered baking vessel inside. When ready, turn the dough out onto parchment paper, seam side down. Shape it gently into a loaf and score the top with a razor blade or sharp knife to allow steam to escape as it bakes, giving your bread that classic artisan look.
Step 8: Bake the Bread
Carefully transfer the dough on parchment into your preheated Dutch oven, cover, and bake for 30 minutes. Then, remove the lid and bake for an additional 15 to 20 minutes until the crust is deeply browned and the loaf sounds hollow when tapped. That golden crust signals your Rosemary & Roasted Garlic Artisan Bread is ready to enjoy.
Step 9: Cool and Serve
Using the edges of the parchment, lift the bread out of the Dutch oven and onto a wire rack to cool for up to an hour. This resting period lets the crumb set properly, so each slice holds its wonderful texture.
How to Serve Rosemary & Roasted Garlic Artisan Bread
Garnishes
Sprinkle your freshly baked bread with a little extra chopped rosemary or flaky sea salt if you like a bit of crunch and herbaceous brightness atop the crust. A drizzle of high-quality olive oil right before serving can also elevate the flavors beautifully.
Side Dishes
This bread pairs wonderfully with hearty soups, creamy cheeses, and vibrant salads. Imagine dipping a warm slice into a bowl of tomato basil soup or alongside a fresh burrata salad—that balance of rustic bread and fresh ingredients is unbeatable.
Creative Ways to Present
For a casual gathering, slice the bread thick and serve on a wooden board alongside rosemary-infused olive oil for dipping. Or, turn it into a rustic crostini topped with roasted vegetables, or warm melted cheeses for a stunning appetizer that guests will rave about.
Make Ahead and Storage
Storing Leftovers
Wrap leftover Rosemary & Roasted Garlic Artisan Bread tightly in plastic wrap or place it in a bread box to maintain its freshness. It will keep wonderfully for up to 3 days without losing too much moisture or flavor.
Freezing
To freeze, slice the bread first, then place the slices in an airtight freezer bag. This way, you can toast individual slices as needed. Frozen properly, your artisan bread can stay fresh for up to 3 months.
Reheating
To revive the fresh-baked texture, warm slices in a toaster or oven at 350ºF (175ºC) for about 5 to 10 minutes. This brings back that delightful crunch on the outside while keeping the interior soft and fragrant.
FAQs
Can I use fresh rosemary instead of dried in the dough?
Absolutely! Fresh rosemary adds a vibrant herbal aroma and flavor, but be sure to finely chop it to evenly distribute throughout the dough and avoid overpowering bites.
What is the purpose of the long rise and refrigeration step?
The slow rise allows the dough to develop deeper flavors and better texture, while refrigeration helps to improve the dough’s elasticity and makes it easier to shape.
Do I need a Dutch oven to bake this bread?
While a Dutch oven helps create steam for a beautiful crust, you can also bake the loaf on a baking stone or sheet with a pan of water in the oven to generate steam—just adjust baking times and keep an eye on the crust color.
Can I make this bread gluten-free?
This recipe relies on gluten development for structure and texture, so substituting gluten-free flour would require special blends and probably additional binders. For best results, stick to wheat flour options.
How do I know when the bread is fully baked?
The top should be a deep golden brown and when you tap it, the loaf sounds hollow, indicating the crumb inside is baked through and beautifully light.
Final Thoughts
There is something truly special about baking a loaf of Rosemary & Roasted Garlic Artisan Bread at home. From the heady scents of roasting garlic to the proud moment when you hear that hollow tap on the crust, this bread transforms simple ingredients into a comforting masterpiece. Trust me, once you try making this bread yourself, you’ll want it to be a regular part of your baking routine. Don’t hesitate — go ahead, bake this lovely loaf, and fill your kitchen with its inviting, herbal-garlic warmth!
PrintRosemary & Roasted Garlic Artisan Bread Recipe
This Rosemary & Roasted Garlic Artisan Bread is a flavorful homemade loaf featuring fragrant rosemary and sweet roasted garlic. Slow fermentation and baking in a Dutch oven yield a crusty exterior with a soft, tender crumb, perfect for sandwiches or serving alongside your favorite meals.
- Prep Time: 20 minutes (plus 40 minutes roasting garlic and 8-10 hours dough rising)
- Cook Time: 50 minutes
- Total Time: 9-11 hours (including resting and rising times)
- Yield: 1 medium artisan loaf (about 8–10 servings) 1x
- Category: Bread
- Method: Baking, Roasting
- Cuisine: American/Fusion Artisan
- Diet: Vegetarian
Ingredients
Roasted Garlic
- 1 head garlic
- Extra-virgin olive oil (about 1 tablespoon for roasting)
- Coarse sea salt and freshly ground black pepper, to taste
Bread Dough
- 1½ cups water, room temperature (at or near 70°F / 21°C)
- 1 teaspoon active dry yeast
- 3 cups bread or all-purpose flour, plus more for dusting
- ½ teaspoon dried oregano
- 1 teaspoon kosher or fine sea salt
- 2 teaspoons finely chopped rosemary, plus more to sprinkle on top
- 1 whole head roasted garlic, smashed (from the roasted garlic step)
- 1 tablespoon extra-virgin olive oil
Instructions
- Roast the garlic: Slice the garlic head in half horizontally to expose the cloves. Drizzle the exposed cloves with olive oil and season with coarse sea salt and freshly ground black pepper. Wrap the garlic head tightly in foil and place it on a baking sheet. Roast in a preheated oven at 400ºF (204ºC) for 40 minutes. Remove from oven and allow to cool. Once cooled, squeeze the roasted garlic cloves out of their skins and set aside.
- Activate the yeast: Sprinkle the active dry yeast over the room temperature water (around 70°F / 21°C). Let it sit for 10-15 minutes until the yeast becomes frothy and bubbly, indicating it is active.
- Mix dry ingredients: In a large bowl, combine the flour, dried oregano, kosher salt, and finely chopped rosemary. Stir to evenly distribute the herbs and salt throughout the flour.
- Combine dough ingredients: To the dry ingredients, add the activated yeast mixture, the smashed roasted garlic cloves, and olive oil. Using a rubber spatula, mix everything together just until combined. The dough will be slightly sticky and stringy with some scattered flour around the edges of the bowl.
- First rise: Cover the bowl with a clean kitchen towel or plastic wrap and place it in a warm spot (ideally 75-80°F / 24-27°C) to rise until doubled in size, approximately 8 to 10 hours. This slow fermentation develops flavor and texture.
- Shape the dough: When doubled, gently transfer the dough to a floured surface using floured hands or a dough scraper. Fold the dough onto itself several times to form a soft, round ball coated lightly with flour. Place the dough seam side up into a floured bowl or proofing basket. Dust the top with flour, cover, and refrigerate for at least 1 hour and up to 24-48 hours if you want to bake later.
- Preheat oven and vessel: About 30 minutes before baking, preheat your oven to 450ºF (232ºC) with a Dutch oven or heavy covered baking vessel inside to heat through.
- Prepare for baking: When ready, remove the dough from the refrigerator and invert the bowl to release the dough seam side down onto a piece of parchment paper. Gently shape it into a loaf if needed. Score the top with a sharp knife or razor blade to create a decorative pattern and allow steam to escape.
- Bake the bread: Carefully remove the hot Dutch oven from the oven and transfer the dough on the parchment paper into it. Cover with the lid and bake for 30 minutes. Then remove the lid and bake for an additional 15-20 minutes until the crust is deeply browned and the loaf sounds hollow when tapped.
- Cool the bread: Using the parchment edges, lift the bread out of the Dutch oven and place it on a wire rack. Allow it to cool for up to an hour before slicing to let the crumb set and prevent gummy texture.
Notes
- For best results, use room temperature water around 70°F (21°C) to activate the yeast without killing it.
- The long, slow rise can be done overnight or during the day depending on your schedule; the dough improves in flavor with more fermentation time.
- If you do not have a Dutch oven, use any heavy covered pot or bake the loaf on a baking sheet with a pan of water to create steam.
- Scoring the bread before baking allows for controlled expansion and prettier crust patterns.
- Store leftover bread wrapped in a tea towel or bread bag at room temperature for up to 3 days for best texture.
Nutrition
- Serving Size: 1 slice (about 1/10th of loaf)
- Calories: 160 kcal
- Sugar: 1 g
- Sodium: 210 mg
- Fat: 3.5 g
- Saturated Fat: 0.5 g
- Unsaturated Fat: 3 g
- Trans Fat: 0 g
- Carbohydrates: 28 g
- Fiber: 2 g
- Protein: 5 g
- Cholesterol: 0 mg
Keywords: artisan bread, roasted garlic bread, rosemary bread, homemade bread, no-knead bread, Dutch oven bread, savory bread