The Magic of Soft Christmas Peppermints Recipe
Introduction
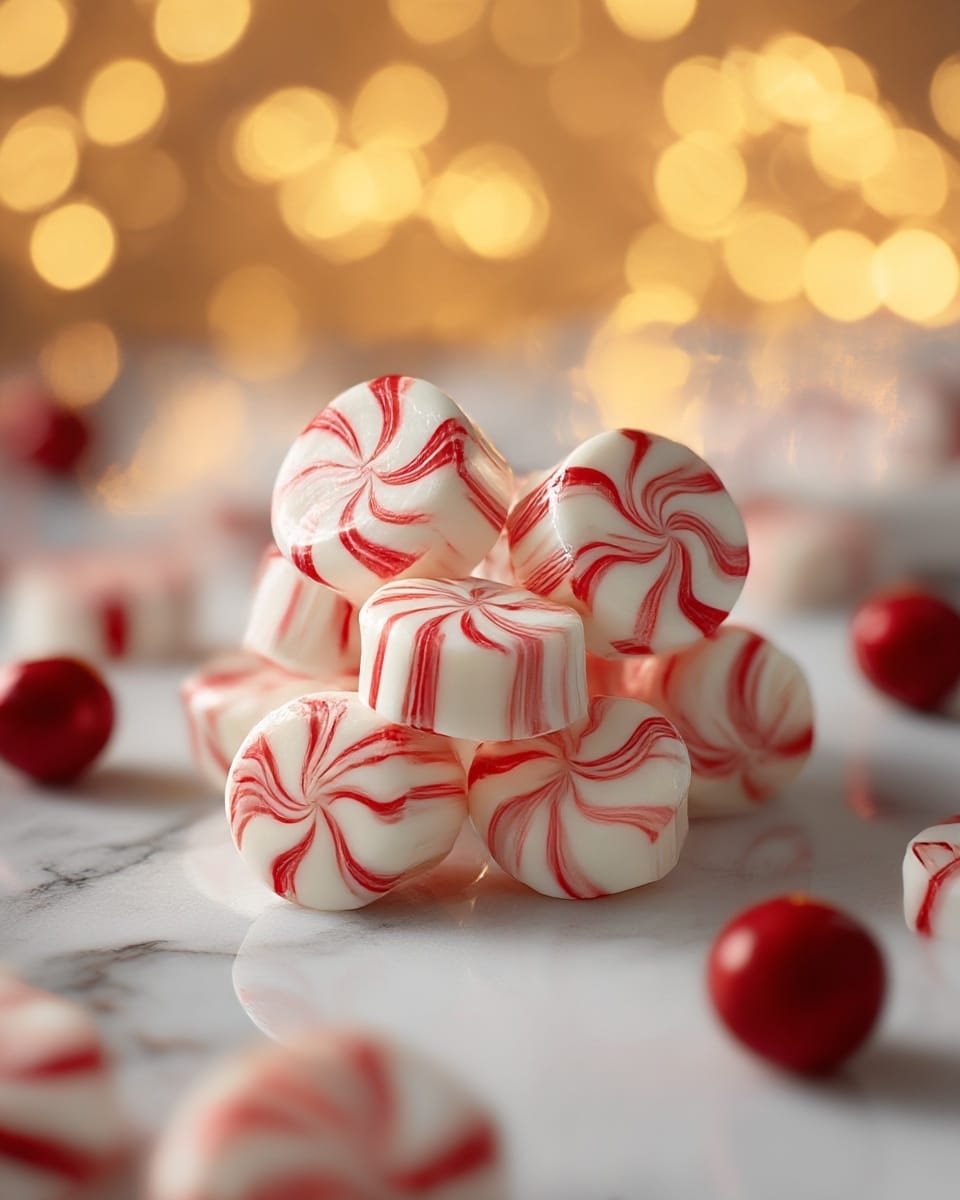
Soft Christmas peppermints are a delightful holiday treat that melt happily in your mouth. These buttery, creamy mints combine the cool freshness of peppermint with a festive red-and-white swirl, perfect for sharing or gifting during the season.

Ingredients
- ½ cup butter, softened
- 3 cups powdered sugar
- 2 tbsp heavy whipping cream
- ¼ tsp peppermint extract
- Red gel food coloring
Instructions
- Step 1: Beat the softened butter in a mixing bowl using a hand mixer or stand mixer until it becomes light and fluffy.
- Step 2: Gradually add the heavy whipping cream, powdered sugar, and peppermint extract. Continue beating until the dough is firm, smooth, and easy to shape.
- Step 3: Divide the dough into two parts, leaving about three-quarters white and coloring the remaining quarter with red gel food coloring to your desired vibrancy.
- Step 4: Roll small portions of each colored dough into thin ropes. Twist one red and one white rope together to create a peppermint swirl, then pinch off small sections to form individual mints.
- Step 5: Let the shaped mints air dry for 1–2 hours, then cut if needed. For best texture, allow them to dry for a full 24 hours before serving to firm the outside while keeping the inside soft.
Tips & Variations
- Use room temperature butter to ensure smooth blending and a creamy texture.
- Adjust peppermint extract to taste for a milder or stronger mint flavor.
- Try green gel food coloring instead of red for a different festive look.
- If dough is too sticky, chill it briefly before rolling and twisting.
Storage
Store the peppermint mints in an airtight container at room temperature. They will keep well for up to two weeks. If they soften slightly, you can let them sit uncovered for a short time to firm up again before serving.
How to Serve
Serve this delicious recipe with your favorite sides.
FAQs
Can I use artificial peppermint flavor instead of extract?
Yes, artificial peppermint flavor can be used, but the taste might be less natural and robust compared to pure peppermint extract.
How do I prevent the mints from sticking together after drying?
Ensure they are fully dried for the recommended 24 hours and store them in a single layer or with parchment paper between layers in an airtight container to prevent sticking.
PrintThe Magic of Soft Christmas Peppermints Recipe

Soft Christmas Peppermints are melt-in-your-mouth buttery treats with a festive red and white swirl. These homemade butter mints combine smooth powdered sugar, rich butter, and refreshing peppermint extract to create a creamy, velvety candy perfect for the holiday season. Easy to make and beautifully decorative, they are ideal for gifting or enjoying during Christmas festivities.
- Prep Time: 15 minutes
- Cook Time: 0 minutes
- Total Time: 24 hours 15 minutes
- Yield: Approximately 60 to 70 mints depending on size 1x
- Category: Candy
- Method: No-Cook
- Cuisine: American
- Diet: Vegetarian
Ingredients
For the Peppermint Mints
- ½ cup butter, softened to room temperature
- 3 cups powdered sugar
- 2 tbsp heavy whipping cream
- ¼ tsp peppermint extract
- Red gel food coloring, to desired vibrancy
Instructions
- Beat the Butter: Using a hand mixer or stand mixer, beat the softened butter in a mixing bowl until light and fluffy. Incorporate air to achieve a delicate, creamy texture essential for the mints.
- Mix in the Rest: Gradually add the heavy whipping cream, powdered sugar, and peppermint extract to the butter. Continue beating until the dough becomes firm, smooth, and easy to shape without sticking to your hands.
- Divide and Color: Split the dough into two portions, reserving about ¾ as white dough and coloring the remaining ¼ with red gel food coloring to your preferred shade.
- Roll and Twist: Roll small portions of the white and red dough into thin ropes. Twist a red and white rope together gently to form the classic peppermint swirl. Pinch off small sections to create individual mints in your desired size and shape.
- Dry and Set: Allow the shaped mints to air dry for 1-2 hours to firm up slightly. Cut into bite-sized pieces if needed. For optimal texture, let the mints dry uncovered for a full 24 hours so the outside firms while keeping the inside soft and creamy.
Notes
- Make sure the butter is softened to room temperature for easy mixing.
- Adjust the amount of peppermint extract to your taste preference.
- Use gel food coloring for vibrant colors without altering the dough consistency.
- Allowing the mints to dry fully for 24 hours is key to achieving the perfect texture.
- You can shape the mints into different sizes or shapes by twisting differently or using molds.
Keywords: Christmas peppermint mints, soft butter candies, holiday peppermint candy, homemade butter mints, festive peppermint treats